Showing posts with label rag wreath. Show all posts

Friday, May 15, 2026

Friday Finish!


 First I wanted to say, I have not gotten any emails from the postings. I do enjoy reading your comments and hopefully I will figure out how to get them back, so I can respond. 

I needed a wreath for the front door and the ones in the stores, are just too cheesy looking. I have so much fabric, that I thought a rag wreath would be perfect and a good way to use my Americana fabrics. I used a wire wreath and cut the strips into 5" x 2" pieces. I made up three stars and sewed them up around the entire edge and cut a slit in the back. That way it kept the shapes better and no one can see the sewn up slit. The bow was an old piece of heavy ticking. I attached the items with a jewelry wire. Something fairly easy to make and a great way to use up fabric.


Last week we had a nice walk at the farm sanctuary. This time they had goats in a closed in pen. They were fun to watch and seemed to have fun watching us.


This one wanted our attention and followed us around.


And this one was just silly looking.


And this was was just too cute and pretty, makes me want one.


At the end of the field is another path that leads to saltwater inlets and a bay. I spotted a few shore birds in the inlet.


And a lot of Yellow Warblers in the trees, in that area.


I also got myself a new car, so I could get out more by myself. A Ford Bronco sport, so I can park easier and use off road if I want. I parked behind the old mill which is now home to different artists. The waterfall runs down the path in and goes to the larger pond.


I had no idea where the troll was, but when I got on the main path, I noticed a new path, so I went down that. It was a nice walk through the woods and then I noticed little foot prints on the trees, so I knew I was going the right way. It was fun seeing him and finding new paths to explore later.

I hope you all had a nice week and enjoy your weekend. We have a heat wave coming in and of course Bill has to work, so I will be getting things done in the trailer to get ready for camping, on the holiday weekend. 


Friday, May 20, 2022

Friday Finish!


This week I have been slowly working on my sea piece, and need to cut the rest of the pieces and hopefully finish it by next week. I am in a patriotic mood, so I have put out my summer decorations and seeing areas that could use some new things. The first thing I made was a rag wreath.

I had a wire frame in stock and plenty of fabric, so a no cost project. I saw one that had the red, white and blue to represent the flag, so I made something similar. I also added a star to the side. I rip my strips so they are more raggy, but easier than cutting so many.


One afternoon we headed to the bike path to see the baby owls. Of course they were not in their usual spot when we got there and I couldn't find them anywhere. I did see quite a lot of different birds, these are the ones I was able to catch.


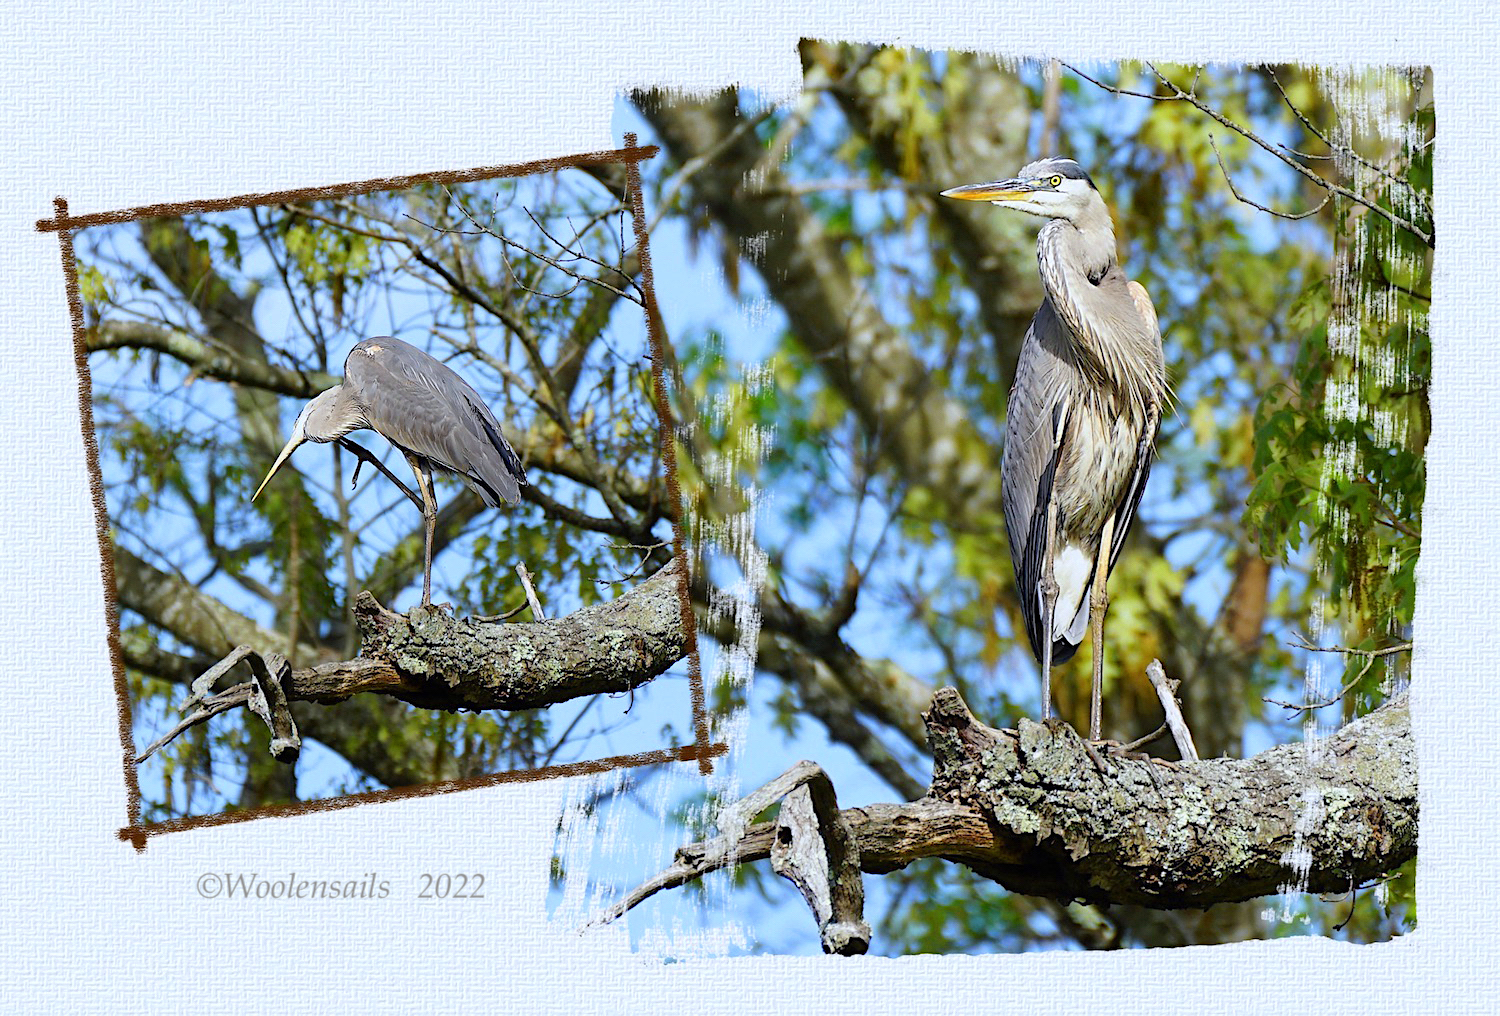
And a Great Blue Heron flew overhead and we spotted him in a tree further down.


After we went over to another area to see the Osprey. She was sitting on her nest and he was looking for their next meal.


We also spent time at the beach. We had a rainy day so once the rain stopped, we headed to the beach. The skies looked ominous, but the waters were calm.


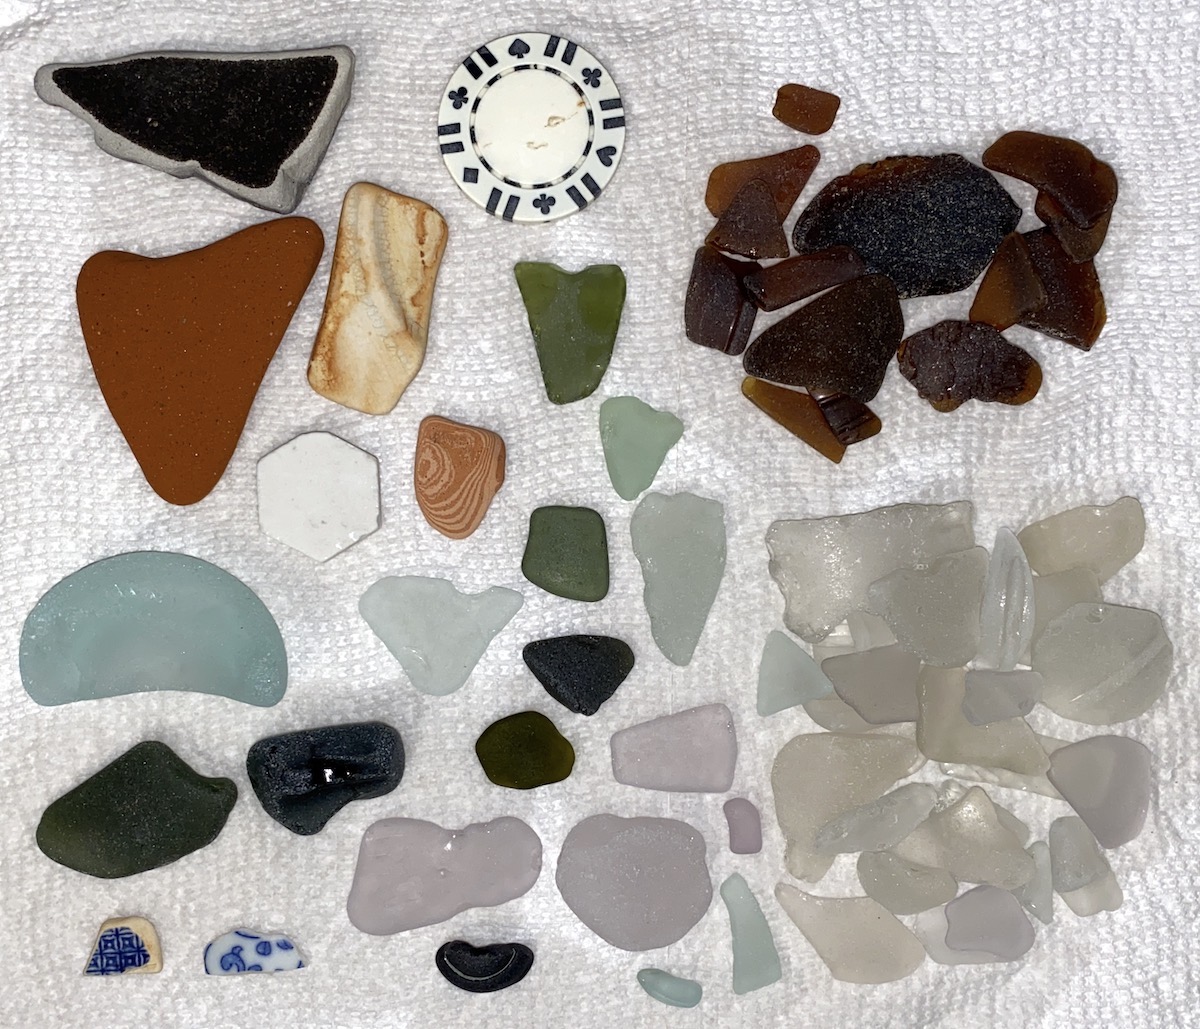
 And I was able to find some nice pieces floating in the water and further up the beach. I think more people are finding this beach and I am finding less on the beach.

I hope everyone had a good week and enjoy the weekend ahead. We are getting higher temperatures, so I will be avoiding the crowded beaches. 


Friday, October 3, 2014

Friday Finish and Winner!


I have been working on a  couple of projects this week, but only one that is finished. My sister saw a snowman piece online and decided she wants me to make her snowmen pieces and she will be visiting this month, so I am making a few of them before she gets here. One is a punch needle and I am doing it in 3 strands, so slow going;)

Since I need something that I can finish in a  few days and I also needed an indoor wreath, I decided to make one. I used various fabrics with dark oranges, browns and golds with a touch of yellow and really like how the colors look together. The colors go perfectly with the prim look. I did get some fake picks to add to it and then stuck the apple in the middle. The apple was a set that a friend sent me.

And now for the winner of the giveaway. The blob in the water is a cormorant. It was sitting on the water and the minute I hit the shutter, it dove under. The winner of the free pattern is Kathy Mackie! Kathy, email me with your choice of an epattern or ebooklet from my ecrater site.

I hope everyone has a wonderful weekend. We have more rain coming in but we will try and get out on sunday for a drive up the Connecticut river to revisit the castle and drive up the river to enjoy the foliage.


Friday, March 14, 2014

Friday Finishes and New Pattern!


First of all, I hope you will all bear with me, as I practice making blog backgrounds. I had one made years ago and have no idea who made it, so I cannot figure out how to remove the middle color so I can balance it all out, but someday I will figure it out;)

This week I wanted to make something new and fun so I started doodling and B is for Bunny was the result. He was fun to make and has a wonderful character to put a smile on your face, we all need that this winter. He is a nice piece to do in any medium and can be done in a prim style or even for a babies room.

I wanted to keep my piece simple so you could see the design clearly but between my bad punching and the fact that I raised the height and forgot to put it down, it has a sculpted, scrappy look. Even with all his flaws, he is a fun piece and by using the bumpy yard around him, he makes a nice pillow.

If you would like to make your own bunny piece,  you can get my newest Epattern by clicking on the link to the left or visiting my ecrater site.


Another piece I finished this week was a smaller rag wreath. This one I used homespuns that I didn't want to use for quilting since they were too thin, but perfect for a wreath. I also tried staining bright pink flowers for my larger wreath and one came out a darker color, so I added that and a few items to decorate the new wreath.


Friday, February 28, 2014

Spring Wreath!


I finished making the wreath with the fabrics I showed you, then I had to decide how to decorate it. I decided to go with a vintage Easter pillow, but it didn't work out like I wanted. I used the print and press and a design that I found at Graphics Fairy. She has a lot of wonderful vintage designs that you can use for printing and making into decorations for your home.

The first design was ruined, not sure what happened, but it did not peel off properly and half the design was ruined, so I made another. I made another that worked this time, I pressed harder on the floor and I think that helped. I thought the design was large enough but once I set it inside the wreath it didn't fit snuggly, which I wanted so it would stay put.

I put the pillow on the wreath and added some flowers to show how the wreath looks. I am thinking that I may make a large sitting bird for it, what do you think would look nice on it? I wanted to do something for Easter, than change that out for spring so I could use it longer. Another idea I had was to print out vintage ornaments and tie them around the wreath.

I have it here on a wall, once I finish it, I will hang it on the front door.


Our house is full of the flu, my daughter had it, gave it to me and now my husband has it, so hopefully this will be the last one for the season. One thing that is nice when you are sick is to have wonderful friends who think of you and send surprises in the mail. It really made my days to have some wonderful new things that I can work with to make new creations with. It warms my heart to know my friends are thinking of me.

I have been practicing with my needle felting but realized I don't have many colors for animals, or fun colors for other projects. My friend Laurie spins her own yarns and uses roving and sent me some unspun rovings from her stash and a lot of her hand dyed, so I will be able to make some new critters now. The funny thing is, something she uses in the roving is something that makes Moki crazy, I found him and the box on the floor and he was rolling around in it, lol. It is now safely locked away from him.

There is roving under the roving, a whole box full. This will keep me busy for a long time.


 Today I received another package from my friend Mary. She knows I love to work with wool and had a pattern and wool kit that she was not going to use, so she passed it along to me. Not only was I surprised by such a wonderful gift but it is the same pattern and kit that I saw the other day and wanted to make, so I was thrilled.

I hope you all have a wonderful weekend.


Monday, February 24, 2014

Fabric Dying!


This weekend I decided to make a rag wreath for spring and use up some of my old stash. I had yellows and greens and some pink and blue that I could add for a spring touch but I soon realized that the yellows had white backgrounds and too much showed on the wreath. This wreath will be for the front door so I want it to show up and not be too white or grungy.

These are the yellows I am using, as you can see they are bright, but perfect for a front door. The backs are just too white especially since there is white in the prints.


I decided to try yellow rit dye to darken up the backs and hopefully not destroy the prints on the front. I used about a half bottle to about two yards of fabric and the dye took nicely and didn't ruin the print, but it spotted the backs so some areas are lighter than I wanted. I did read on their site that using salt can help to set the colors more evenly, so I will have to try that next time. All in all it is a good way to darken up white backgrounds with fabrics that are too light and perfect for rag wreaths. Rit Dye has some wonderful tutorials and a color chart, that will give you recipes when you click on a color and shade that you like.

This is how it came out, not as dark as I wanted, but it will still work in the wreath.


I also had two greens that had white backgrounds and since the yellow was gone from the pot, I added some green and did these two pieces. They took the color better and got a darker background so they will work nicely in the wreath. If you would like to learn how to make your own rag wreaths you can visit House of Stars for a tutorial and a beautiful nautical wreath that you can make. Rags-n-Rhinestones has another wonderful tutorial for a country wreath that has buttons and yo yo's as an added touch.

It is hard to see how it actually looks with a camera shot, but the back  has a nice dark green and is not such a contrast to the front, in person. I hope the links inspire you to do your own dying with ugly fabrics and try a scrap wreath.


Monday, January 20, 2014

Valentine Rag Wreath!


I wanted something for my front door and I thought it would be fun to try a rag wreath. I bought a wire frame from the craft store, half price with a coupon, so well worth getting one. If  you want you can also use an old coat hanger and bend it into a heart shape.

I used some thrift material that I was thought would work nice in a craft project and it was perfect for this. I snipped the cloth into 1" strips and tearing it, since they were long yardage. Then I used scissors and cut that into 6" strips for the ties. The frame has 3 sections, two in the back and the middle is slightly higher, so you want to start with the back two rows and then do the top section last. You can add less strips to the inner section since the two outer rows fill most of the wreath, but you do need a few on the inner to fill in, so the wire doesn't show.

This is a 12" wreath, I had wanted a larger one for the door so I might just keep this one inside. I made up a little heart with some scraps and added that by making a tie and tying it to the middle piece. A fun project to do, works up quickly and a good way to use up scraps.

I wanted to show off the wreath, so I used a little photoshop magic to make a new background.


This is the fabric, I used. It is a nice soft material so it gives a nice raggedy look. If you would like a tutorial with photos, you can find one Here.